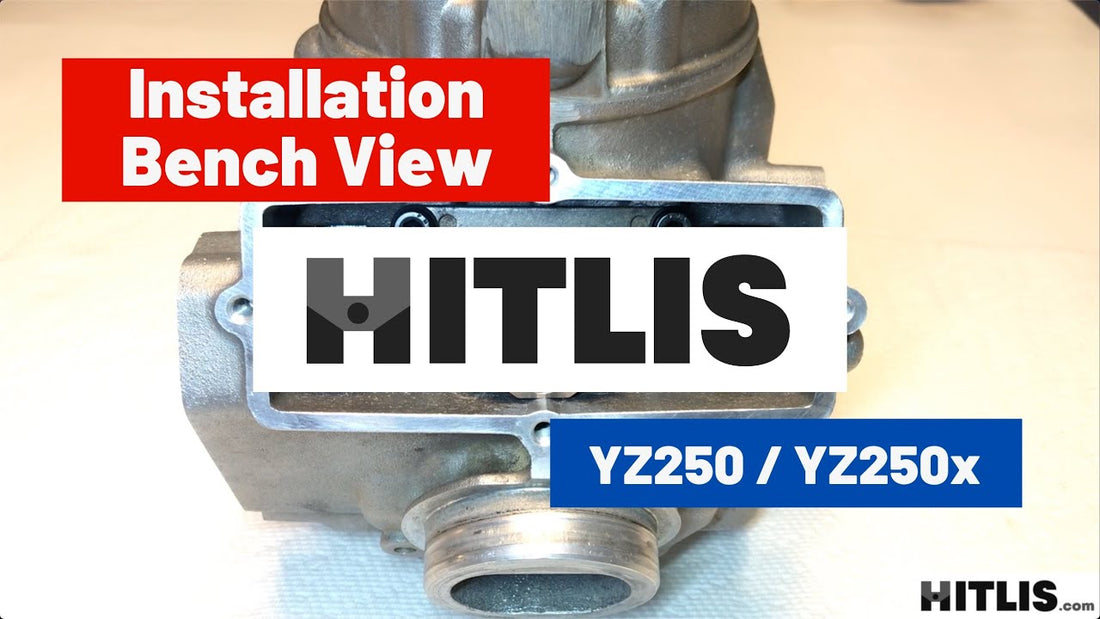
How to Install HITLIS with the Cylinder on the Bench
If you’re rebuilding your top end or simply want a clearer, second look at the HITLIS installation process, this bench view guide offers an unobstructed perspective of the assembly process. Unlike the previous on-bike installation guides, this method allows you to see each step clearly, making it easier to follow along.
For those looking to upgrade their YZ250 power valve system, HITLIS provides smoother throttle response and improved power delivery, eliminating the common issues of flutter and excessive hit.
Step 1: Preparing the Cylinder for Assembly
- Ensure the cylinder and power valves are cleaned and moving freely.
- Gather required components: valve shaft, two long springs, washers, pulleys, closing fork, and torsion springs.
- Replace the valve shaft seal if needed.
Step 2: Assembling the HITLIS System on the Bench
- Insert the valve shaft partially.
- Install the right (red) pulley, long spring, and washer.
- Slide on the torsion spring and closing fork, followed by the left pulley and remaining washers.
- Rotate the shaft into position and engage the secondary linkage pins.
Step 3: Fine-Tuning the Linkage and Power Valves
- Adjust the linkage screws to allow smooth rotation of the shaft.
- Check that the valves fully close and do not shift when pressed.
- Hook up the torsion springs to the center valve, ensuring a spring-loaded action.
Step 4: Final Testing Before Installation
- Rotate the shaft and check for smooth, unrestricted movement.
- Tighten all screws while ensuring proper valve operation.
- Once everything is secure, the cylinder is ready to be installed back on the bike.
This bench installation method provides the most detailed view of the assembly process, making it easier to ensure every component is correctly positioned before reinstalling the top end.